Your first month with DetectID — a structured onboarding
A four-week onboarding for new DetectID users — first identification, public sharing, sessions and the map, then a Week 4 review before deciding on a plan.
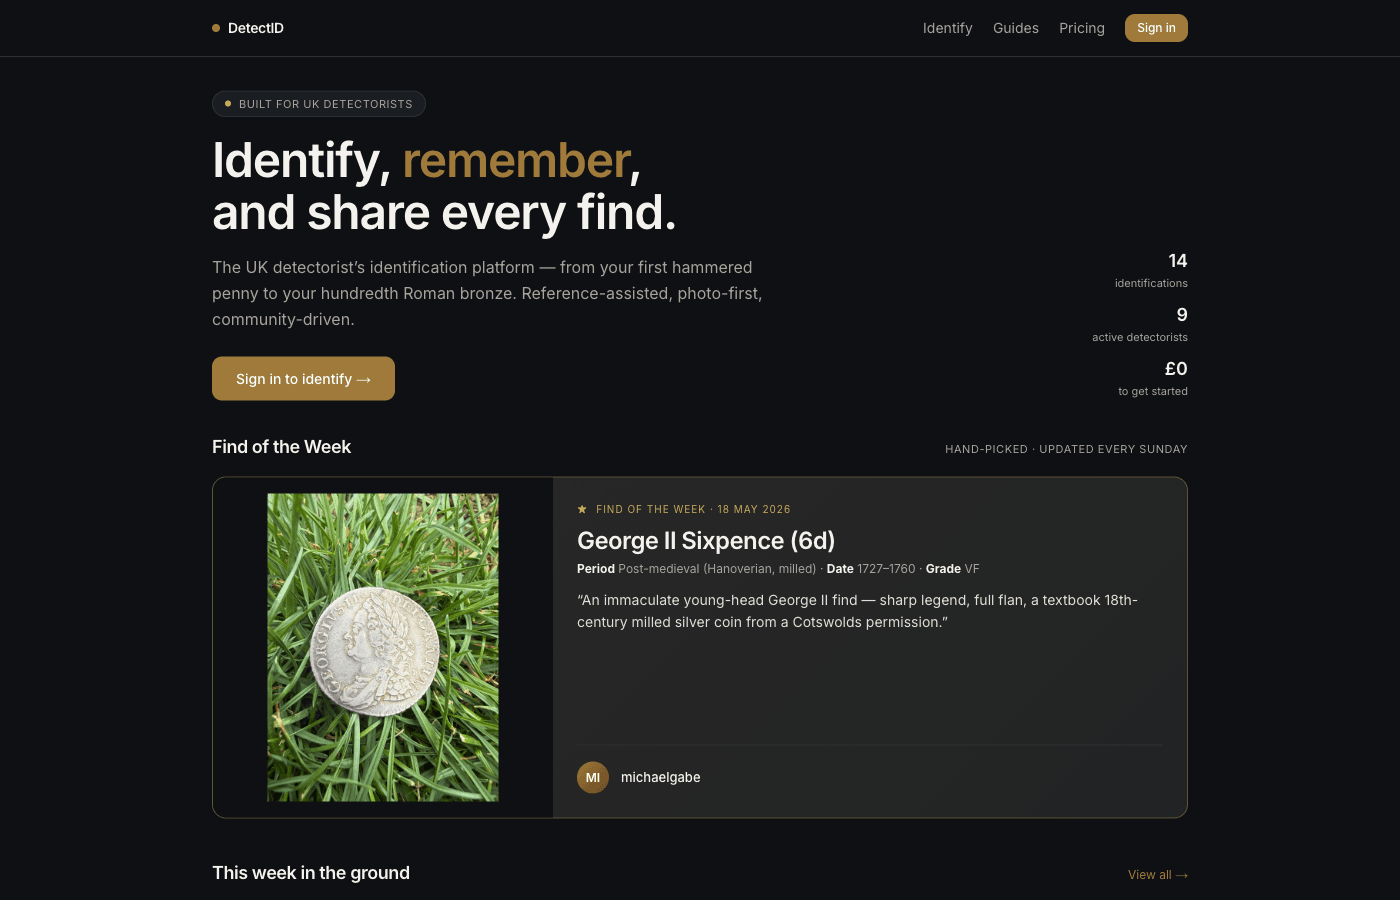
Just signed up for DetectID? This is a structured four-week onboarding walkthrough — not a marketing pitch, but a practical plan to get you from “curious newcomer” to “detectorist with a working DetectID setup” in the first month.
Week 1 — First identification
Your goal this week is one thing: get through a complete identification cycle and see what the result page looks like. That’s it.
- Sign in. Go to app.detectid.co.uk/auth/login, enter your email, click the magic link. No password to remember.
- Pick your most interesting recent find.Not your best photo — your most interesting find. Even a worn or unidentified one. The exercise is to see what DetectID does with real material.
- Photograph it.If you haven’t already read Photographing finds for identification, do that now. 30 seconds with a plain background and natural light.
- Upload at /identify.Add weight if you have scales; skip the other optional fields for now.
- Wait the 30–60 seconds. Read the streaming reasoning chain as it appears.
- Read the result page properly. Walk through our Understanding your identification result post with the result open in another tab.
After Week 1 you’ll know whether the engine’s verdict on your find made sense, what a good identification looks like, and whether the photographs you took are capturing what the engine needs.
Week 2 — Share something publicly
If you upgraded to Basic (or you’re still on Free and have a session-only ID worth showing), this week is about the public side.
- Set a public username. Go toSettings → Profileand pick something durable — see ourBuilding your public profile for naming suggestions.
- Write a short bio. Where you detect (rough region), what you specialise in. 200 characters or less.
- Pick your best find from Week 1 and share it.From the find’s detail page, toggle “Make public”. Add a one-sentence public note explaining the find spot context.
- Visit your public profile. Go to
/u/your-username. See what others see. - Browse the discovery feed. Go to/finds/public. Heart a few finds that catch your eye. See what other detectorists are pulling up this week.
After Week 2 you have a public presence. Future finds you share inherit that presence; other detectorists can find you, and over time your profile becomes a portfolio.
Week 3 — Set up sessions and the map
The behind-the-scenes infrastructure that makes DetectID worth coming back to.
- Go to /finds/map.You should see your Week 1 finds plotted (if you set locations on them).
- Start a detecting session.The right-hand panel. Give it a label like “Manor Farm — East field” or whatever fits. Tap Start.
- Set a default location precision.Settings → Profile. Most detectorists pick 1 km grid — private enough to protect permissions, useful enough to map your own patterns.
- On your next detecting trip, take the session out.Any find you upload that day auto-tags to it. End the session when you finish.
- Tag your detector.On the next upload, fill in the detector brand and model fields — the autocomplete will help. Your defaults pre-fill from there on.
After Week 3 you have a working detecting record — map view of your finds, sessions grouping them by permission or trip, detector brand tagged on each one.
Week 4 — Review and decide
Take stock of your first month.
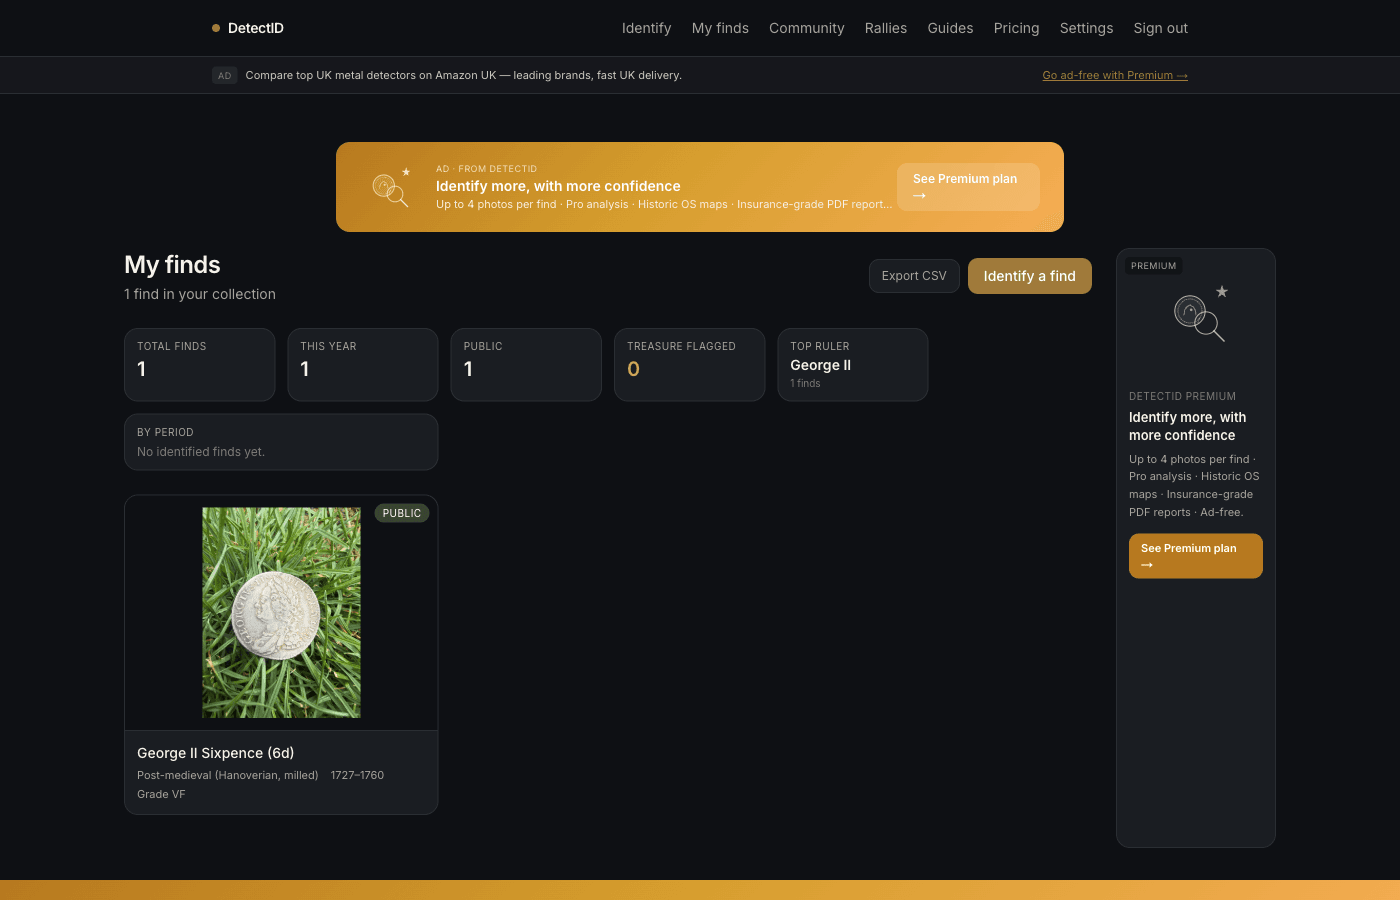
- Go to /finds. Look at the stats strip up top. You should now have totals across a few of those six tiles.
- Export your collection as CSV.Tap Export CSV. Open the file in Excel or Sheets. See what data DetectID has stored for you — everything in your collection laid out clearly.
- Decide on your plan.If you’re on Free and you’ve found that 3 identifications per month is tight, Basic at £1.99 unlocks the collection, the map, public sharing, CSV export, and 100 IDs. SeeFree vs Basic vs Premium.
- Read one or two of the guides. Go to/guides. Pick the period most relevant to your detecting (Tudor, Roman, Anglo-Saxon, medieval, milled). Read it. Future identifications will make more sense with that context.
After Week 4 you have a real working setup: identifications, collection, map, sessions, detector tagged, a public presence if you want it, and an understanding of which plan fits.
What comes after Week 4
- Detect more.The platform compounds — every find you log makes the stats more useful, the map more interesting, your public profile more credible.
- Try a rally. Even just attending. SeeJoining a rally as an attendee.
- Report the recordable finds with PAS. SeeReporting finds to PAS. DetectID gives you the identification; PAS gives you the permanent archaeological record.
- Subscribe to product updates(Settings → Email preferences) if you want monthly news.
The mistakes to avoid in month one
Burning your Free quota on identifying things you already know
Three identifications a month is tight. Save them for the find you actually don’t recognise. Modern coins, obvious junk, things you can already date by eye — don’t spend an ID on them.
Setting your default precision to “Exact”
It’s tempting (the data is more precise!) but in practice 1 km grid is almost always what you want. Exact precision is for finds you might revisit yourself; for general logging, 1 km grid is private enough and useful enough.
Sharing too aggressively in week 1
It’s easy to share every identified find publicly out of enthusiasm. A profile with three well-chosen public finds looks better than a profile with twenty middling ones. Be selective.
Skipping the bio
An empty bio on a public profile looks like an inactive account. 100 characters of bio — what you do, where you do it — transforms how your profile reads.
Treating it like Strava
DetectID isn’t a competitive fitness tracker. There’s no streak mechanic, no “maintain your daily activity” pressure. Detect when you want to detect; upload when you have something worth uploading. The platform rewards rhythm, not grind.
If you stall
Some users sign up, do Week 1, then disappear. That’s fine — the platform doesn’t pressure you to come back. The next time you find something interesting, your account’s still there waiting. No data lost.
If you sign in three months later and the workflow feels unfamiliar, re-read this post. Week 1 still applies whether it’s your first week or your sixteenth.
Common first-month questions
How long does it take to get good at photographing finds?
Two or three weeks of conscious effort. Thephoto guide covers the rules; muscle memory takes a few sessions to develop.
Should I upgrade to Premium straight away?
Probably not. Basic at £1.99 is enough for the vast majority of detectorists. Upgrade to Premium only when you’re consistently hitting Basic’s 100-IDs ceiling or you specifically want the upcoming historic OS overlay.
Can I import my existing finds-list?
Not via self-service yet. If you have a long finds-spreadsheet, email support and we can talk through options. Most detectorists go forward from sign-up rather than backfilling.
Next steps
- The actual identification flow: How to identify your first find.
- Photographing well: Photographing finds for identification.
- The plans: Free vs Basic vs Premium.
Try DetectID on a real find
Upload a photo and we’ll return a calibrated shortlist with period, denomination, ruler and full reasoning chain.
Identify a find